Keyframes in Alight Motion
A beginner-friendly guide to keyframes in Alight Motion. Understand animation basics, timeline control, and smooth motion with real examples.
Explore GuideWhat Are Keyframes in Alight Motion?
Keyframes are fundamental animation tools in Alight Motion that allow creators to define the starting and ending points of any smooth transition. Essentially, they mark specific points in time where you set values for layer properties like position, scale, rotation, opacity, and effects.
When you place at least two keyframes with different values for the same property, Alight Motion automatically creates a smooth animation between them, calculating all the intermediate values through a process called tweening. This eliminates the need to manually create every frame of your animation, saving time while producing professional results.
Real-world analogy: Think of keyframes as destinations on a road trip. You set where you want to start and end, and Alight Motion plots the smoothest route between them. You can add stops along the way (additional keyframes) to create more complex animations.
How Keyframes Work: A Practical Example
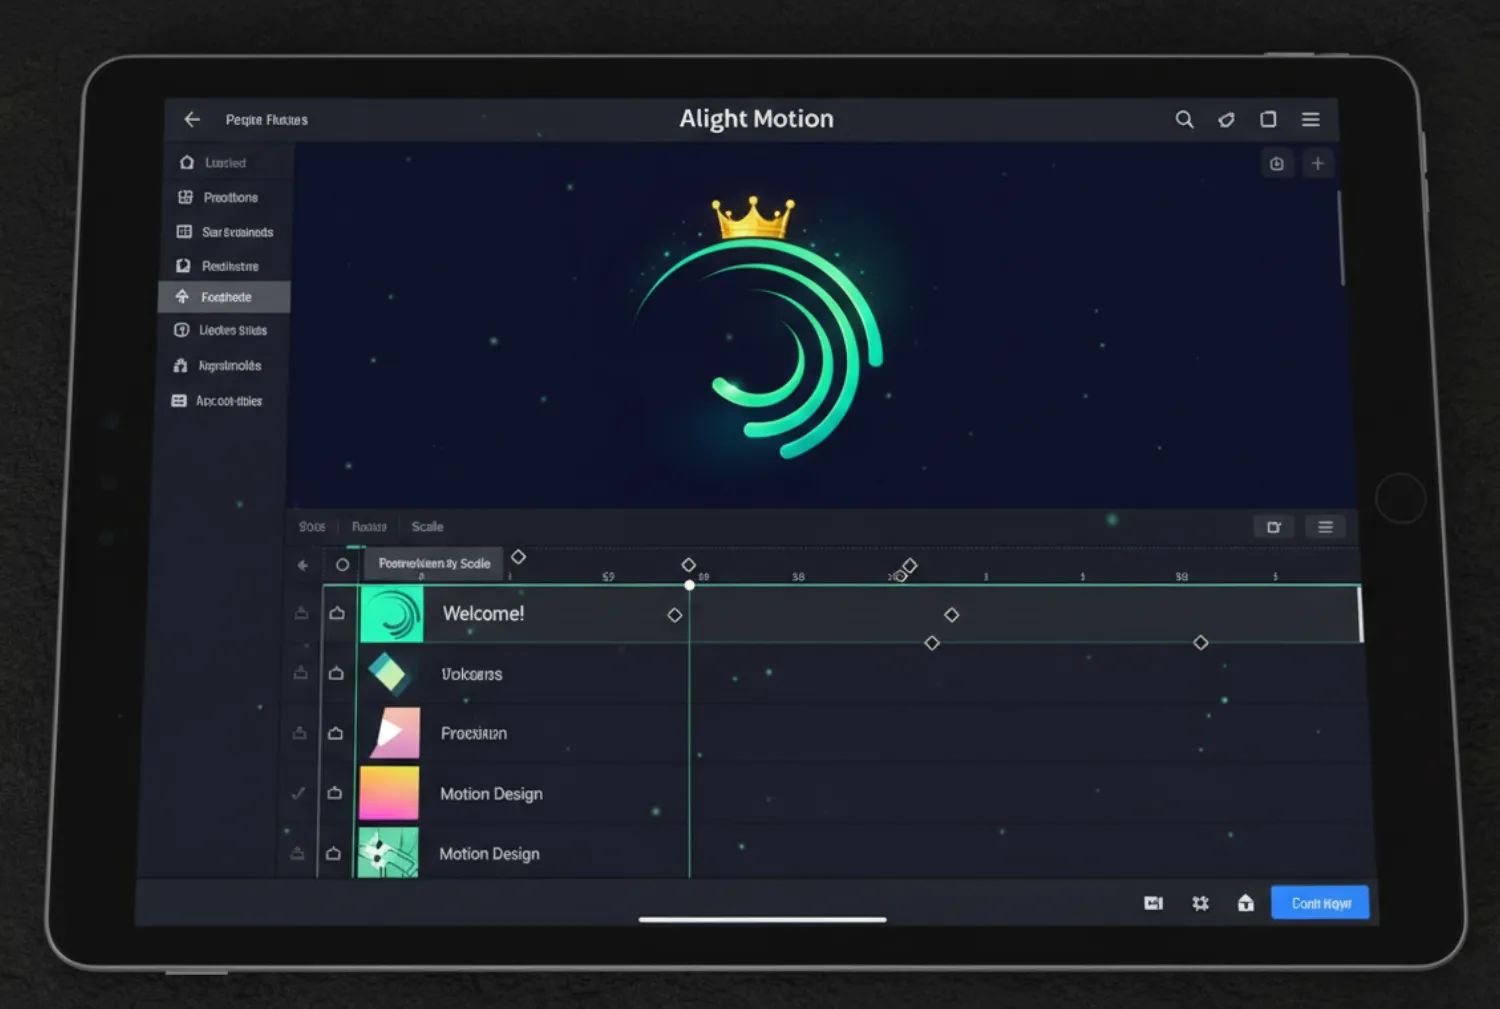
The animation above demonstrates how keyframes control movement. At each marked percentage (0%, 25%, 50%, 75%, 100%), properties like position, rotation, and color are defined. Alight Motion smoothly interpolates the values between these points to create fluid motion.
Common Properties You Can Animate with Keyframes
- Position: Move layers across the screen in any direction
- Scale: Grow or shrink elements with precision
- Rotation: Spin layers or create subtle rotation effects
- Opacity: Create smooth fade-in and fade-out transitions
- Effects: Animate color corrections, blurs, and other filters over time
- Shape Properties: Modify vector points, strokes, and fills dynamically
How to Use Keyframes in Alight Motion: Step-by-Step
- Select Your Layer: Tap on any layer in your project that you want to animate.
- Enable Keyframes: Find the property you want to animate (position, scale, etc.) and tap the diamond-shaped keyframe icon next to it.
- Set Initial Keyframe: Move the playhead to where you want the animation to start, adjust the property to its starting value, and tap the diamond to set your first keyframe.
- Set Ending Keyframe: Move the playhead to where you want the animation to end, change the property to its final value, and tap the diamond again to set another keyframe.
- Adjust Timing: Tap on any keyframe to adjust its timing curve (ease in, ease out, linear, or custom bezier) for more natural movement.
- Preview and Refine: Play back your animation and adjust keyframe positions or values until you achieve the desired effect.
For more complex animations, you can add intermediate keyframes between your start and end points to create bounce effects, pauses, or changes in direction.